The Ultimate Guide to Cleaning Vintage Record Store Signs
Vintage record store signs are more than just advertisements; they're tangible pieces of music history, echoing a time when vinyl reigned supreme and the thrill of discovering new music was a physical experience. These signs, often battered by weather, years of display, and general neglect, can be invaluable pieces of music memorabilia. Before any restoration work begins, proper cleaning is the crucial first step. But cleaning a decades-old sign requires a gentle and informed approach. Aggressive methods can easily strip away original paint, lettering, and the very character that makes these signs so desirable. This guide will walk you through the process of safely cleaning vintage record store signs, focusing on techniques to remove grime, dust, and surface oxidation without causing irreversible damage.
Understanding the Challenges: What You're Dealing With
Before you even pick up a cleaning tool, it's essential to understand what you’re facing. Vintage signs are often made of various materials: pressed tin, aluminum, sometimes even porcelain or wood. Each material reacts differently to cleaning agents. Furthermore, the finish itself is likely to be original and often fragile. You might encounter:
- Years of Grime and Dirt: A thick layer of accumulated dust, dirt, and possibly even insect debris.
- Surface Oxidation (Rust): Common on tin and iron signs, oxidation creates a reddish-brown coating.
- Fading & Discoloration: Exposure to sunlight and weather can cause pigments to fade and colors to shift.
- Original Paint Degradation: Paint can become brittle, crackled, or start to peel.
- Existing Coatings: Previous attempts at cleaning or restoration might have applied layers of wax, varnish, or other finishes.
Important: Before proceeding, carefully examine the sign. Note the material, the condition of the finish, and any areas of concern. A test spot (explained below) is ALWAYS recommended.
Gathering Your Supplies: The Right Tools for the Job
Using the correct supplies is critical for safe and effective cleaning. Here's a list of what you'll need:
- Soft Brushes: Various sizes, including a large, soft-bristled brush for dusting and smaller detail brushes.
- Microfiber Cloths: Plenty of them – these are far gentler than paper towels.
- Distilled Water: Avoid tap water, which contains minerals that can leave residue.
- Mild Soap: Dish soap like Dawn (a few drops in a bucket of distilled water) is often sufficient.
- Specific Cleaners (Used Sparingly - See Testing Section):
- Mineral Spirits: For grease and stubborn grime (use with extreme caution).
- Baking Soda Paste: A mild abrasive for gently removing oxidation (test first!).
- Commercial Sign Cleaner (Specifically for Vintage Signs): Research and choose a reputable brand.
- Gloves: To protect your hands from chemicals.
- Eye Protection: Always wear safety glasses.
- Drop Cloths/Newspaper: To protect your work surface.
Image: 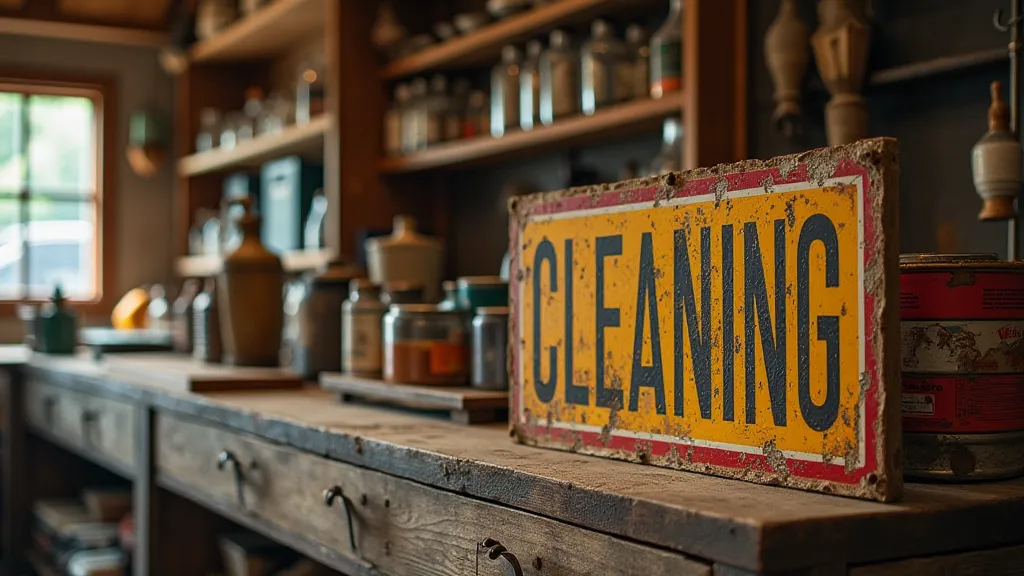
The Cleaning Process: Step-by-Step Instructions
Follow these steps carefully, and remember that patience is key.
- Dusting: Begin by thoroughly dusting the sign with a large, soft brush. Work in gentle, sweeping motions to remove loose dirt and debris.
- Initial Water Wash: Dampen a microfiber cloth with distilled water and gently wipe the surface of the sign. This removes a significant portion of the grime.
- Mild Soap Solution: Mix a few drops of mild dish soap in a bucket of distilled water. Dampen a microfiber cloth with this solution and gently wipe the sign. Rinse with a separate cloth dampened with distilled water.
- Targeted Cleaning (If Needed): If stubborn grime remains, consider one of the following, AFTER a thorough test spot (see below):
- Mineral Spirits: Dip a cotton swab or microfiber cloth in mineral spirits and gently dab at the affected areas. Work in small sections and rinse immediately. This is a strong solvent – use with utmost caution.
- Baking Soda Paste: Mix baking soda with distilled water to form a thick paste. Apply gently to oxidized areas using a soft brush. Rinse thoroughly.
- Drying: Immediately dry the sign with a clean, dry microfiber cloth. Don't let it air dry, as water spots can appear.
The Crucial Test Spot: Before You Commit
This is the most important step! Before applying any cleaning agent to the entire sign, perform a test spot in an inconspicuous area (like a corner or the back). Apply a small amount of the cleaner, wait a few minutes, and then rinse and dry. Observe the results carefully:
- Does the cleaner affect the finish? Does it cause discoloration, softening, or peeling?
- Does it remove the original paint? This is a sign of incompatibility.
- Does it leave a residue? This indicates that the cleaner isn’t rinsing properly.
If the test spot reveals any negative effects, do not proceed with that cleaner. Experiment with a milder alternative or consult with a professional.
Dealing with Oxidation (Rust)
Rust is a common issue with vintage signs, especially those made of tin or iron. While some patina can be desirable, excessive rust can damage the sign and detract from its value. Baking soda paste, as mentioned above, can gently remove surface rust. For more severe cases, specialized rust removal products designed for vintage signs may be necessary. Always follow the product’s instructions carefully and perform a test spot first.
Image: 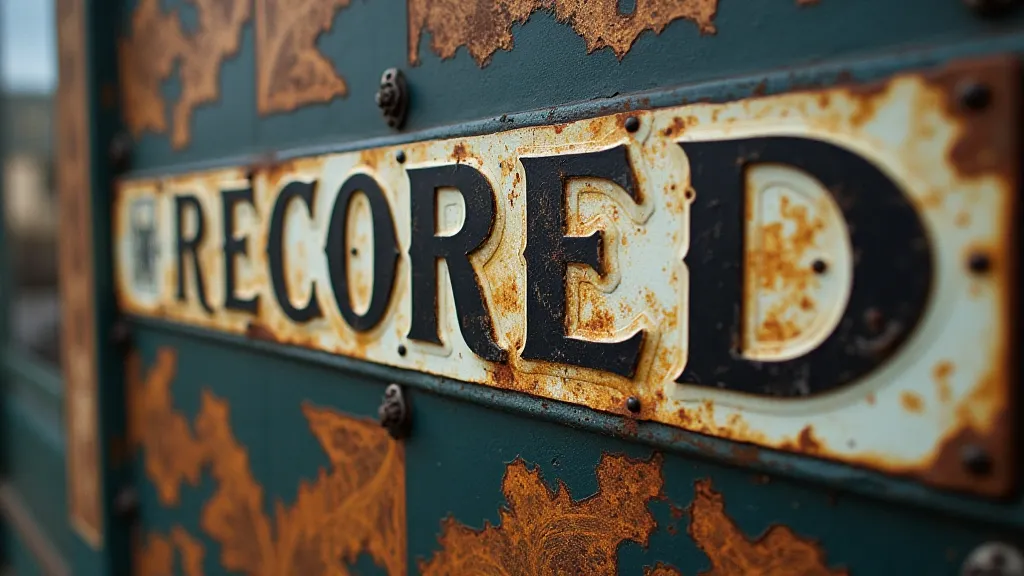
Important Cautions and Considerations
- Avoid Abrasive Cleaners: Steel wool, scouring pads, and harsh chemicals will scratch and damage the original finish.
- Don't Soak the Sign: Prolonged exposure to water can cause damage.
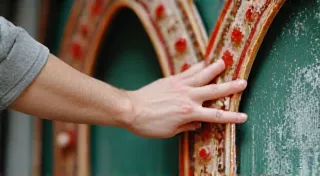
- Handle with Care: Vintage signs are often fragile. Support them properly during cleaning.
- Professional Help: For signs in very poor condition or with significant damage, consider consulting with a professional sign restoration specialist.
- Document Your Work: Take "before" and "after" photographs to track your progress.
Image: 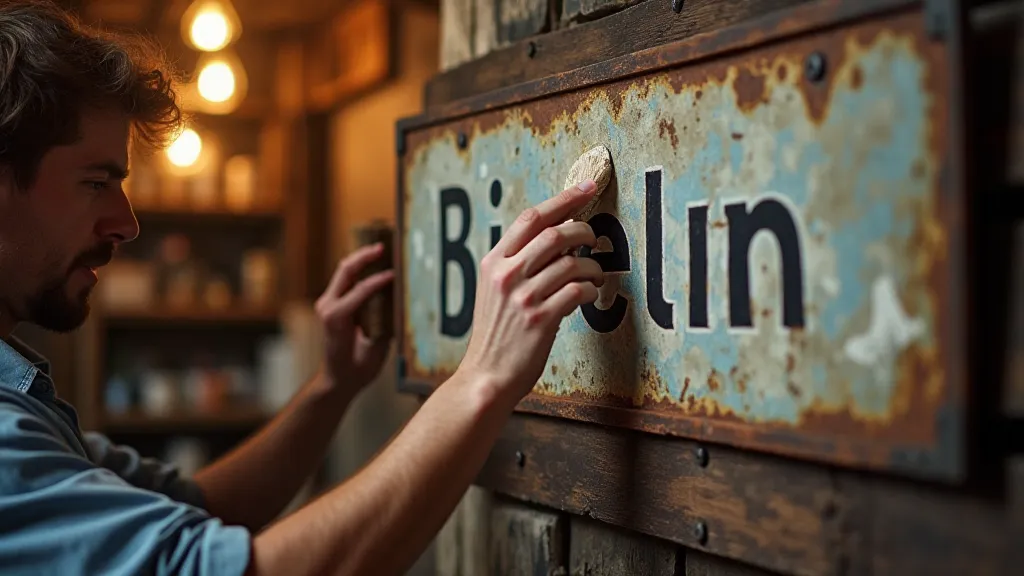
Conclusion
Cleaning vintage record store signs is a delicate process that requires patience, attention to detail, and a respect for the sign’s history. By following these guidelines and prioritizing safety, you can revitalize these treasured pieces of music memorabilia and preserve them for generations to come. Remember, the ultimate goal is to clean the sign effectively while preserving its original character and value.