Removing Old Paint Layers Safely and Effectively
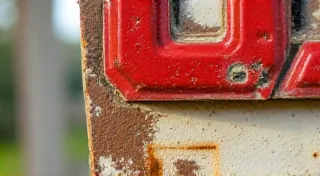
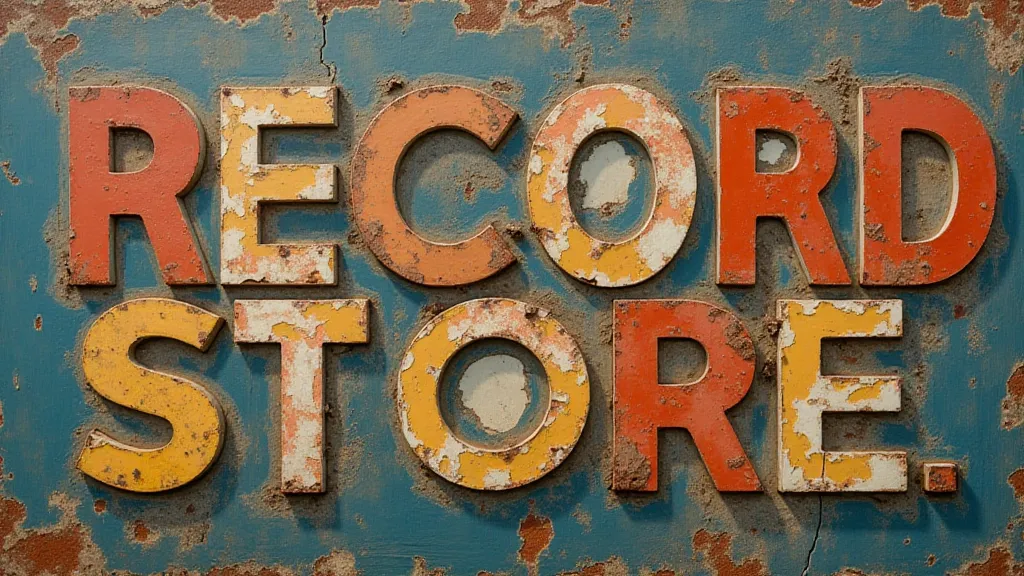
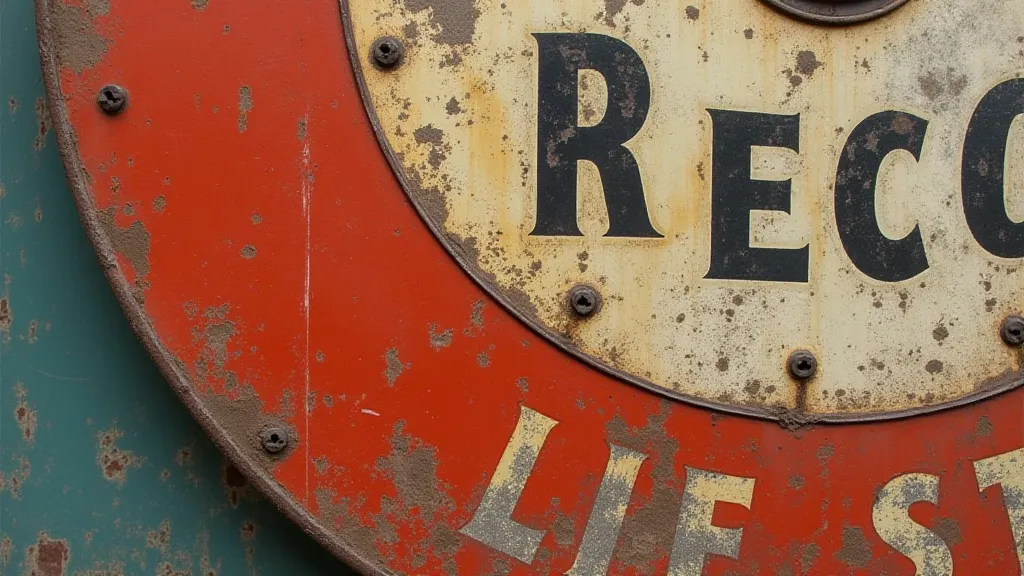
Restoring vintage record store signs is a delicate process. These signs, once vibrant beacons of music culture, often bear the marks of time – layers of chipped paint, faded colors, and accumulated grime. While the allure of revealing the original signage is strong, rushing the paint removal process can easily damage the sign’s substrate, rendering it beyond repair. This article details safe and effective techniques for removing old paint layers, preserving the integrity of your vintage record store sign.
Understanding the Layers
Before you even touch a scraper, it’s vital to understand what you’re dealing with. Vintage signs often have multiple layers of paint, applied over decades. Each layer might be formulated differently, requiring varying removal techniques. Common paint types found on these signs include:
- Oil-Based Paints: Typically older layers, often glossy and durable.
- Enamel Paints: Also durable, often used for exterior signs.
- Latex Paints: Became more prevalent later in the sign's lifespan.
- Acrylic Paints: Often the most recent layers.
The order and type of paint layers will dictate the best approach. A careful visual inspection can give you clues, but destructive testing (removing a small, inconspicuous area) is often necessary for confirmation. This helps you avoid unnecessary damage.
Safe Removal Techniques
There's no one-size-fits-all solution. The best method depends on the sign’s material (metal, wood, or occasionally porcelain), the condition of the paint, and your comfort level. Here are some commonly used techniques, ranked generally from least aggressive to most aggressive:
1. Soap and Water & Gentle Scrubbing
Don't underestimate the power of a good cleaning! Often, years of accumulated dirt and grime obscure the paint's true color. Start with warm water and a mild detergent (dish soap works well). Use a soft-bristled brush to gently scrub the surface. This is particularly effective for removing loose debris and surface contamination. Rinse thoroughly and allow to dry completely before proceeding.
2. Heat Gun (Carefully!)
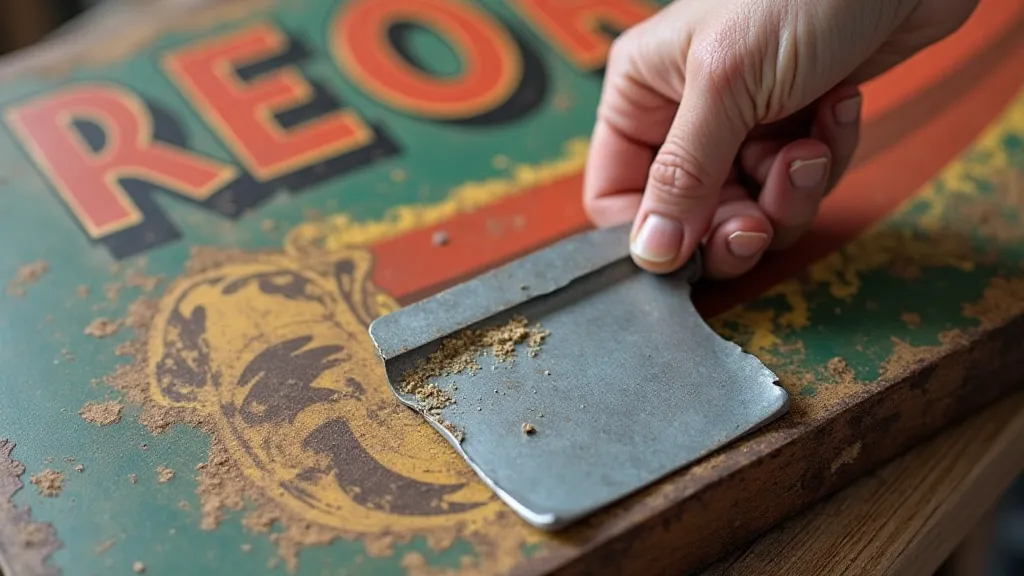
A heat gun is a popular choice, but demands caution. The heat softens the paint, making it easier to scrape away. Always work in a well-ventilated area and wear a respirator to avoid inhaling fumes. Start with a low heat setting and gradually increase it until the paint becomes pliable. Use a sharp scraper held at a shallow angle to lift the softened paint. Avoid overheating the substrate, as this can cause warping or distortion, especially with metal signs. Continuous movement of the heat gun is key; don't dwell in one spot.
3. Chemical Strippers
Chemical strippers can be highly effective, but also carry risks. There are various types – solvent-based, water-based, and citrus-based. Solvent-based strippers are the strongest, but also the most hazardous, requiring stringent safety precautions (gloves, respirator, eye protection, and excellent ventilation). Water-based and citrus-based strippers are milder but may require multiple applications. Always follow the manufacturer’s instructions carefully. A thorough rinsing after stripping is crucial to remove all traces of the chemical.
Important Considerations with Chemical Strippers:
- Material Compatibility: Test the stripper on a small, inconspicuous area first to ensure it doesn’t damage the sign’s substrate. Some chemicals can etch or discolor certain metals.
- Neutralization: After stripping, you may need to neutralize the surface to remove any lingering chemical residue. Check the stripper’s instructions for recommended neutralization methods.
4. Media Blasting (Professional Recommendation)
Media blasting (sandblasting, soda blasting, etc.) is a more aggressive method best left to professionals. It uses compressed air to propel abrasive media against the surface, removing multiple layers of paint quickly. While efficient, it can easily damage the sign if not performed correctly. Incorrect media selection or excessive pressure can gouge the substrate or remove too much material. This method is suitable for heavily layered signs or those made of robust materials.
Essential Tools for Paint Removal
Having the right tools can significantly impact the success and safety of your restoration project.
- Scrapers: A variety of shapes and sizes – metal, plastic, and wood. Sharpness is paramount.
- Heat Gun: Adjustable temperature settings are essential.
- Respirator: A must-have when using heat guns or chemical strippers.
- Gloves: Protect your hands from chemicals and sharp edges.
- Eye Protection: Safety glasses or goggles are critical.
- Drop Cloths: Protect surrounding surfaces from paint debris.
- Paint Brush: For applying chemical strippers.
- Rags: For wiping surfaces and cleaning up.
- Solvent: For cleaning tools and surfaces.
Preserving the Sign’s Integrity
The goal isn’s simply to remove paint; it’s to reveal the original sign while preserving its structural integrity and historical character. Here are a few crucial considerations:
- Don't Rush: Patience is key. Rushing the process can lead to mistakes and irreversible damage.
- Avoid Excessive Pressure: Use gentle, controlled movements.
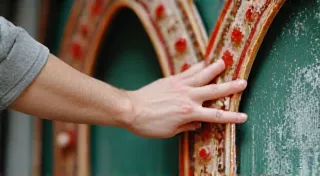
- Protect Details: Be especially careful around raised lettering or intricate details.
- Document the Process: Take photographs at each stage to track your progress and for reference.
- Consider Leaving Some Patina: A small amount of aged paint can add character and authenticity.
Conclusion
Restoring vintage record store signs is a rewarding but challenging endeavor. By understanding the layers of paint, employing safe and effective removal techniques, and exercising patience and care, you can breathe new life into these iconic pieces of music memorabilia, preserving a tangible link to a bygone era.