Case Study: Restoring a 1950s Record Store Sign
Restoring vintage record store signs is a labor of love. These signs aren’t just advertising; they’re relics of a bygone era, testaments to the golden age of vinyl, and often beautiful works of art in their own right. Each sign carries a story – the music it advertised, the customers who admired it, the neighborhood it served. This case study will walk you through the restoration of a particularly challenging 1950s sign, detailing the techniques employed, the problems encountered, and the rewards of bringing a piece of music history back to life. Our keywords for this project were “record store signs”, “vintage signs”, “antique signs”, “restoration”, and “music memorabilia”.
The Sign: A History and Initial Assessment
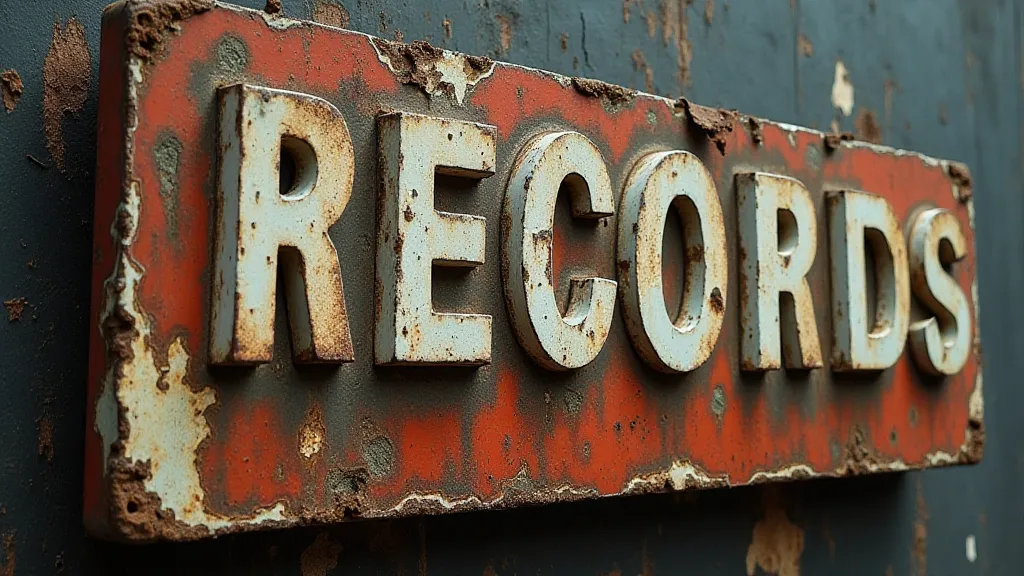
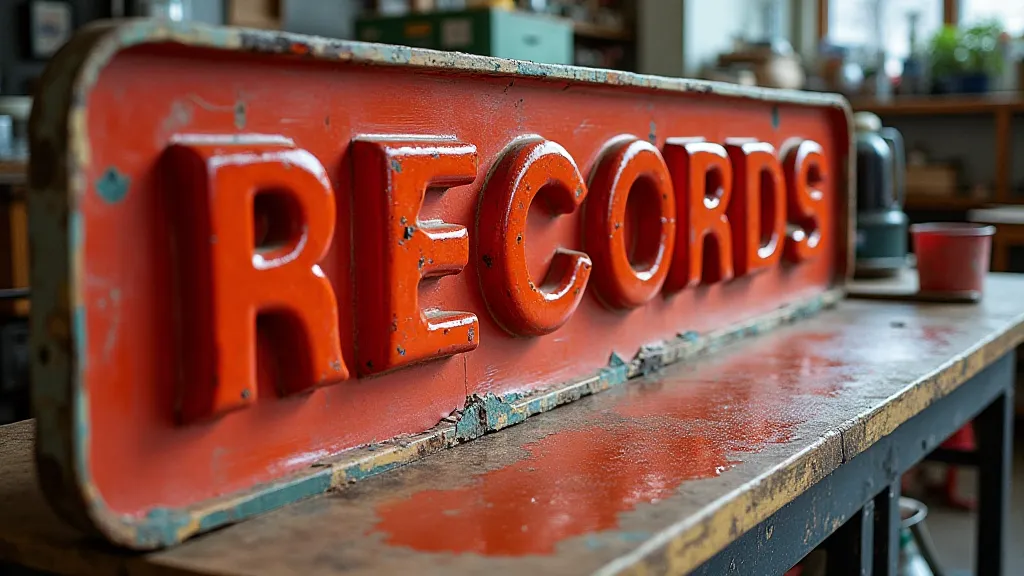
The sign we're focusing on hails from "Tony’s Tunes," a long-defunct record store in a small town in Ohio. It’s a double-sided, pressed-metal sign, approximately 48 inches wide and 24 inches high. The original design featured a stylized jukebox silhouette with the store’s name in a bold, hand-lettered font. The color scheme was primarily a vibrant red with yellow and cream accents. The sign was discovered in a local barn, partially buried under debris and suffering from significant weathering, rust, and damage.
Our initial assessment revealed several key issues:
- Surface Rust: Extensive rust had formed across both sides, particularly in recessed areas and around screw holes.
- Paint Loss: The original paint was peeling and flaking, exposing the bare metal underneath.
- Dents and Bends: The sign had sustained several dents and bends, likely from being stored improperly.
- Screw Hole Damage: The screw holes were corroded and widened, indicating a history of loose mounting.
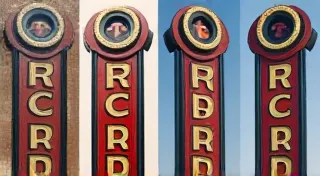
- Original Lettering Fading: The hand-lettered “Tony’s Tunes” had faded considerably.
Given the overall condition, the restoration process was estimated to be complex and time-consuming, requiring a multi-stage approach.
Stage 1: Cleaning and Rust Removal
The first step was thorough cleaning. We used a combination of gentle scrubbing with mild soap and water to remove loose dirt and debris. For more stubborn grime, we employed a diluted solution of trisodium phosphate (TSP). It's crucial to wear appropriate personal protective equipment (PPE) – gloves, eye protection, and a respirator – when using TSP. This is essential to protect your health.
The real challenge was rust removal. We opted for a combination of methods:
- Mechanical Rust Removal: We started with a wire brush and sandpaper of varying grits (80, 120, 220) to manually remove the bulk of the rust. This process was physically demanding, requiring patience and attention to detail.
- Chemical Rust Removal: For heavily rusted areas, we used a commercial rust remover. We carefully followed the manufacturer's instructions and allowed the solution to dwell for the recommended time. Multiple applications were necessary for particularly stubborn rust.
- Electrolysis (Optional): For extremely rusted areas, electrolysis can be effective. This method uses an electric current to draw the rust from the metal surface. However, it requires specialized equipment and careful monitoring.
Throughout the cleaning process, we took care to avoid aggressive methods that could damage the original paint or lettering.
Stage 2: Dent Repair and Metal Straightening
The numerous dents and bends significantly impacted the sign’s visual appeal. We employed a combination of techniques to restore its shape:
- Gentle Pushing and Manipulation: Minor dents were addressed by gently pushing the metal back into place from the reverse side.
- Suction Cups: Larger, more stubborn dents sometimes responded to the use of suction cups, which allowed us to gradually pull the metal back into alignment.
- Cold Chasing/Hammering (Carefully): For severely deformed areas, cold chasing or hammering was required. This process involves carefully tapping the metal with a specialized tool to reshape it. Extreme caution was exercised to avoid creating new dents or damaging the surrounding areas.
The goal was not to eliminate all imperfections, as minor dents and textures can contribute to the sign’s character and authenticity. We aimed to restore the overall shape and alignment while preserving its vintage appeal.
Stage 3: Paint Repair and Color Matching
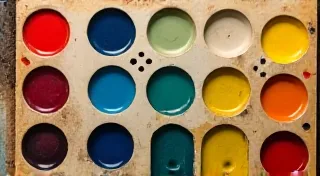
Once the rust was removed and the metal straightened, we focused on repairing the paint. The original paint was primarily a vibrant red, with yellow and cream accents. Recreating this original color scheme required some research and experimentation.
Our process involved:
- Paint Chip Analysis: We carefully examined any remaining paint chips to determine the original color formula.
- Color Matching: We used a commercial color matching system to formulate a custom paint that closely matched the original red, yellow, and cream colors.
- Primer Application: Before applying the new paint, we applied a rust-inhibiting primer to protect the bare metal and ensure proper paint adhesion.
- Multiple Paint Coats: We applied multiple thin coats of the new paint, allowing each coat to dry completely before applying the next. This resulted in a durable and even finish.
We also touched up the faded “Tony’s Tunes” lettering by carefully repainting it by hand. This required a steady hand and a good understanding of the original font style.
Stage 4: Screw Hole Repair and Final Sealing
The corroded and widened screw holes were addressed by filling them with metal epoxy. After the epoxy cured, we drilled new pilot holes for the screws, ensuring a secure and stable mounting system. We then applied a clear sealant to the entire sign to protect it from future weathering and corrosion.
Challenges and Lessons Learned
This restoration project presented several challenges:
- Limited Information: Lack of original documentation or photographs made it difficult to accurately reproduce the original appearance.
- Extensive Rust: The sheer volume of rust required significant time and effort to remove.
- Delicate Lettering: Repainting the faded lettering was a delicate and time-consuming task.
- Maintaining Authenticity: Balancing restoration with preservation of the sign’s original character was a constant consideration.
The key takeaways from this experience are the importance of meticulous planning, patience, and a deep respect for the history of the object. Preserving these pieces of music history is not merely about cosmetic repair; it’s about safeguarding a tangible link to the past.
Conclusion
Restoring this 1950s record store sign was a rewarding endeavor. It allowed us to breathe new life into a piece of music history and preserve a tangible reminder of a bygone era. While the process was challenging, the final result – a beautifully restored piece of Americana – made it all worthwhile. The care and attention dedicated to this project exemplifies the passion we have for preserving these significant pieces of music memorabilia.