Tools of the Trade: Essential Equipment for Sign Restoration
Restoring vintage record store signs is a rewarding process, connecting us to a bygone era of music and culture. But before you can breathe new life into a faded, weathered sign, you need the right tools. This guide details the essential equipment needed for successful restoration, covering everything from basic cleaning supplies to specialized tools for tackling complex repairs. Whether you’re a seasoned restorer or just starting out, understanding these tools will set you up for success. Our focus is on preservation and respect for the sign’s history, opting for techniques that minimize irreversible changes.
Cleaning and Surface Preparation: The Foundation of Restoration
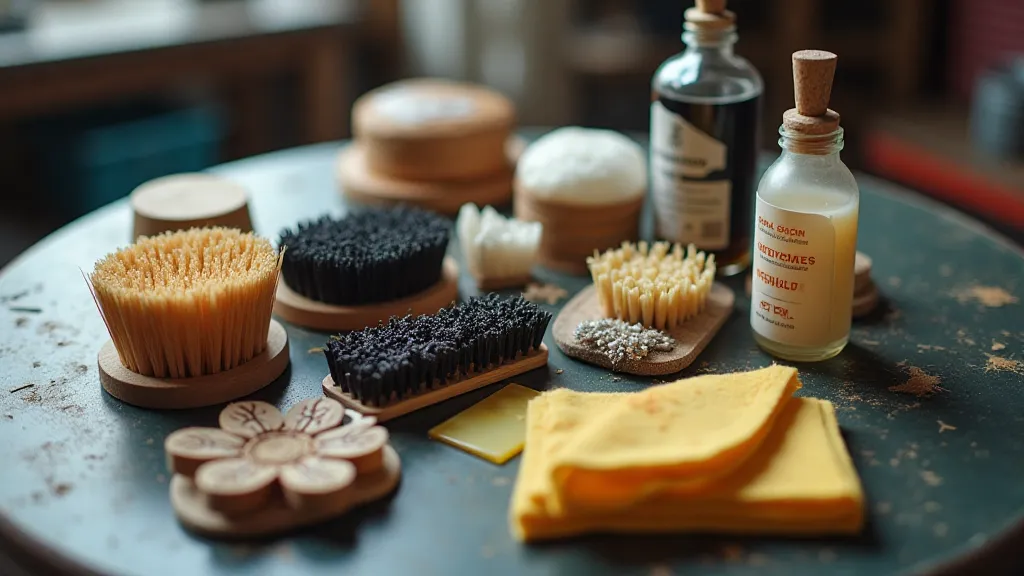
Before any restoration work can begin, the sign needs thorough cleaning. Accumulated grime, dirt, and old coatings obscure the original design and can hinder the effectiveness of subsequent repairs. Here’s a breakdown of essential cleaning tools:
- Soft Brushes: Various sizes and bristle types (natural or synthetic) are crucial for gently removing loose debris without scratching the surface. A detail brush for tight corners and a larger scrub brush for broader areas are ideal.
- Microfiber Cloths: These cloths are lint-free and excellent for wiping surfaces clean after using solvents.
- Mild Soap & Water: A gentle starting point for removing surface dirt.
- Solvents (Used with Caution!): This is where understanding the sign's material is vital.
- Mineral Spirits: Effective for removing oil-based paints and varnishes. Always test in an inconspicuous area first.
- Isopropyl Alcohol (IPA): Good for removing stubborn adhesives and residues. Use sparingly and with ventilation.
- Citrus-Based Solvents: A gentler alternative to harsher chemicals, often effective on grease and grime.
- Plastic Scrapers: For carefully lifting dried paint or adhesives. Metal scrapers are generally too aggressive.
- Pressure Washer (Optional & Use with Extreme Caution): A low-pressure nozzle and significant distance are essential to avoid damage. Best left to experienced restorers.
Addressing Damage: Repair Tools & Materials
Vintage signs often exhibit various types of damage: rust, dents, cracks, peeling paint, and missing sections. Here's the toolkit to address these issues:
- Rust Removal Tools:
- Wire Brush (Brass or Stainless Steel): For removing loose rust. Avoid steel brushes which can scratch.
- Sandpaper (Various Grits): Progressing from coarse (80 grit) to fine (220 grit and beyond) to smooth the surface. Wet sanding can minimize scratches.
- Rust Converter: Chemically transforms rust into a stable, paintable surface.
- Body Fillers & Putty: Used to fill dents, cracks, and missing sections. Choose a filler compatible with the sign's material (metal, wood, or other).
- Metal Patching (for Metal Signs): Small pieces of matching metal, carefully shaped and welded (if necessary) to repair larger holes. Requires welding skills.
- Wood Repair Putty (for Wood Signs): For filling cracks and imperfections in wooden signs.
- Heat Gun: Used carefully to soften old paint for easier removal or to help bond patches. Requires significant experience to avoid damaging the sign.
- Soldering Iron (for Metal Signs): Used for reattaching loose trim or small components.
- Epoxy Resin (Optional): For stabilizing cracked or fragile sections. Can alter the sign's appearance and is generally avoided for historically accurate restoration.
Painting and Finishing: Recreating the Original Look
Recreating the original finish is a critical aspect of restoration, striving for authenticity while protecting the sign. Here’s what you'll need:
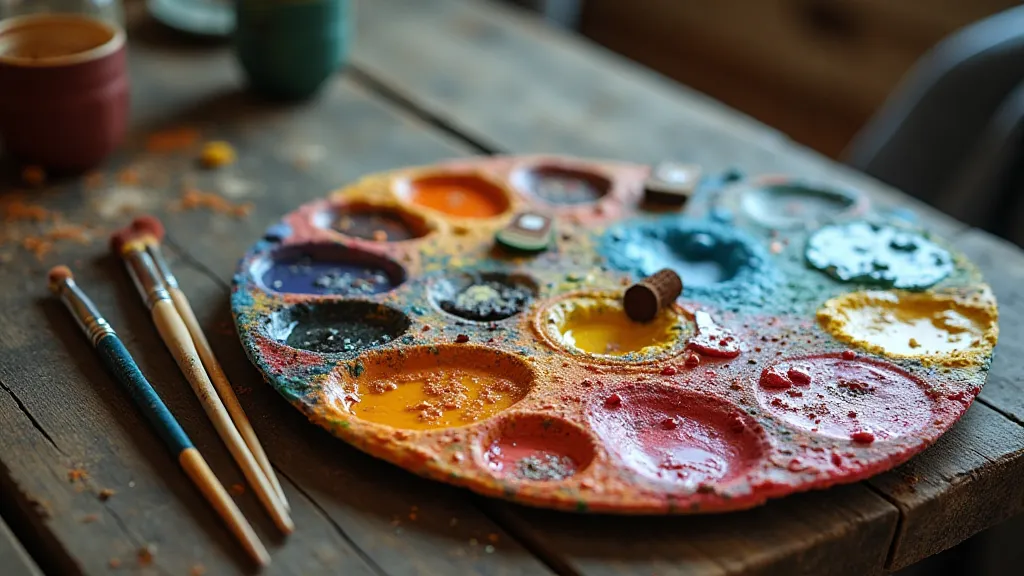
- Paintbrushes (Various Sizes & Types): Natural bristle brushes for oil-based paints, synthetic brushes for water-based paints. Consider badger hair brushes for a smooth finish.
- Spray Gun (Optional): For a more even and professional finish. Requires practice and proper ventilation.
- Masking Tape & Paper: To protect areas you don’t want painted.
- Primer: To prepare the surface for paint and improve adhesion.
- Matching Paints: Identifying the original paint color is crucial. This may involve paint analysis by a professional. Use high-quality paints for durability.
- Clear Coat (Varnish or Lacquer): To protect the paint and provide a desired sheen. Choose a compatible clear coat based on the original finish.
- Mixing Pigments: Being able to accurately mix paint colors is vital for matching originals.
Safety First!
Restoring vintage signs involves working with potentially hazardous materials. Always prioritize safety:
- Safety Glasses: To protect your eyes from debris and chemicals.
- Respirator or Mask: To prevent inhaling paint fumes and dust.
- Gloves: To protect your hands from chemicals.
- Well-Ventilated Workspace: Especially important when using solvents and paints.
- Proper Disposal of Hazardous Waste: Follow local regulations for disposing of solvents, paints, and other waste materials.
Power Tools: Used with Caution and Expertise
While not always necessary, certain power tools can expedite restoration. However, they require significant skill and experience to avoid irreversible damage:
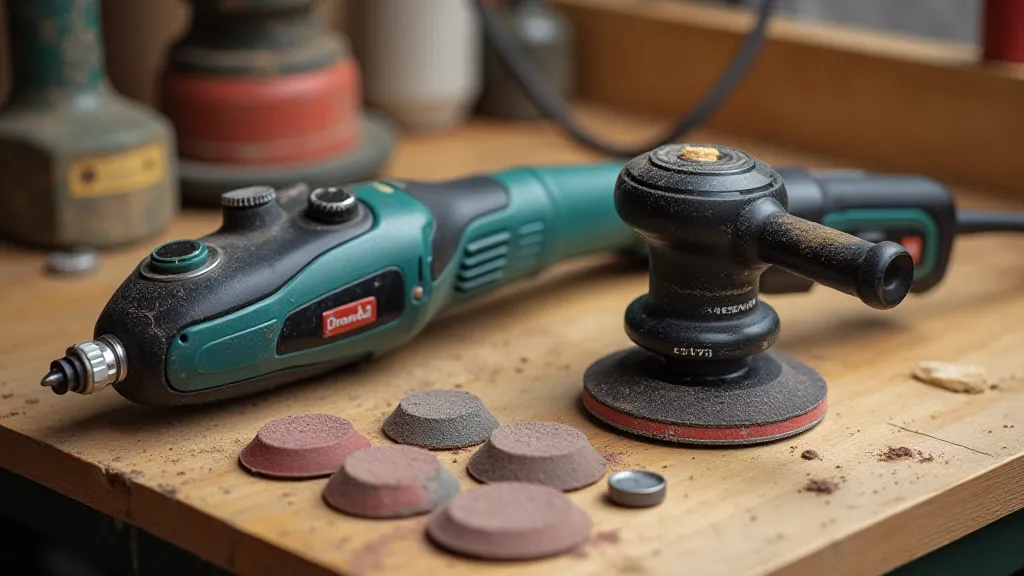
- Dremel/Rotary Tool: Useful for detail work, removing rust, and cleaning tight spaces.
- Angle Grinder: For heavy-duty rust removal and surface preparation. Requires extreme caution.
- Orbital Sander: For smoothing surfaces and removing paint. Use with appropriate grit sandpaper.
- Air Compressor: To power pneumatic tools like spray guns and air grinders.
Final Thoughts
Restoring vintage record store signs is a labor of love. Gathering the right tools is only the first step. Patience, attention to detail, and a deep respect for the sign's history are essential for preserving these pieces of music memorabilia for generations to come. Remember to always research the specific sign's material and construction to choose the most appropriate restoration techniques. When in doubt, consult with a professional conservator.